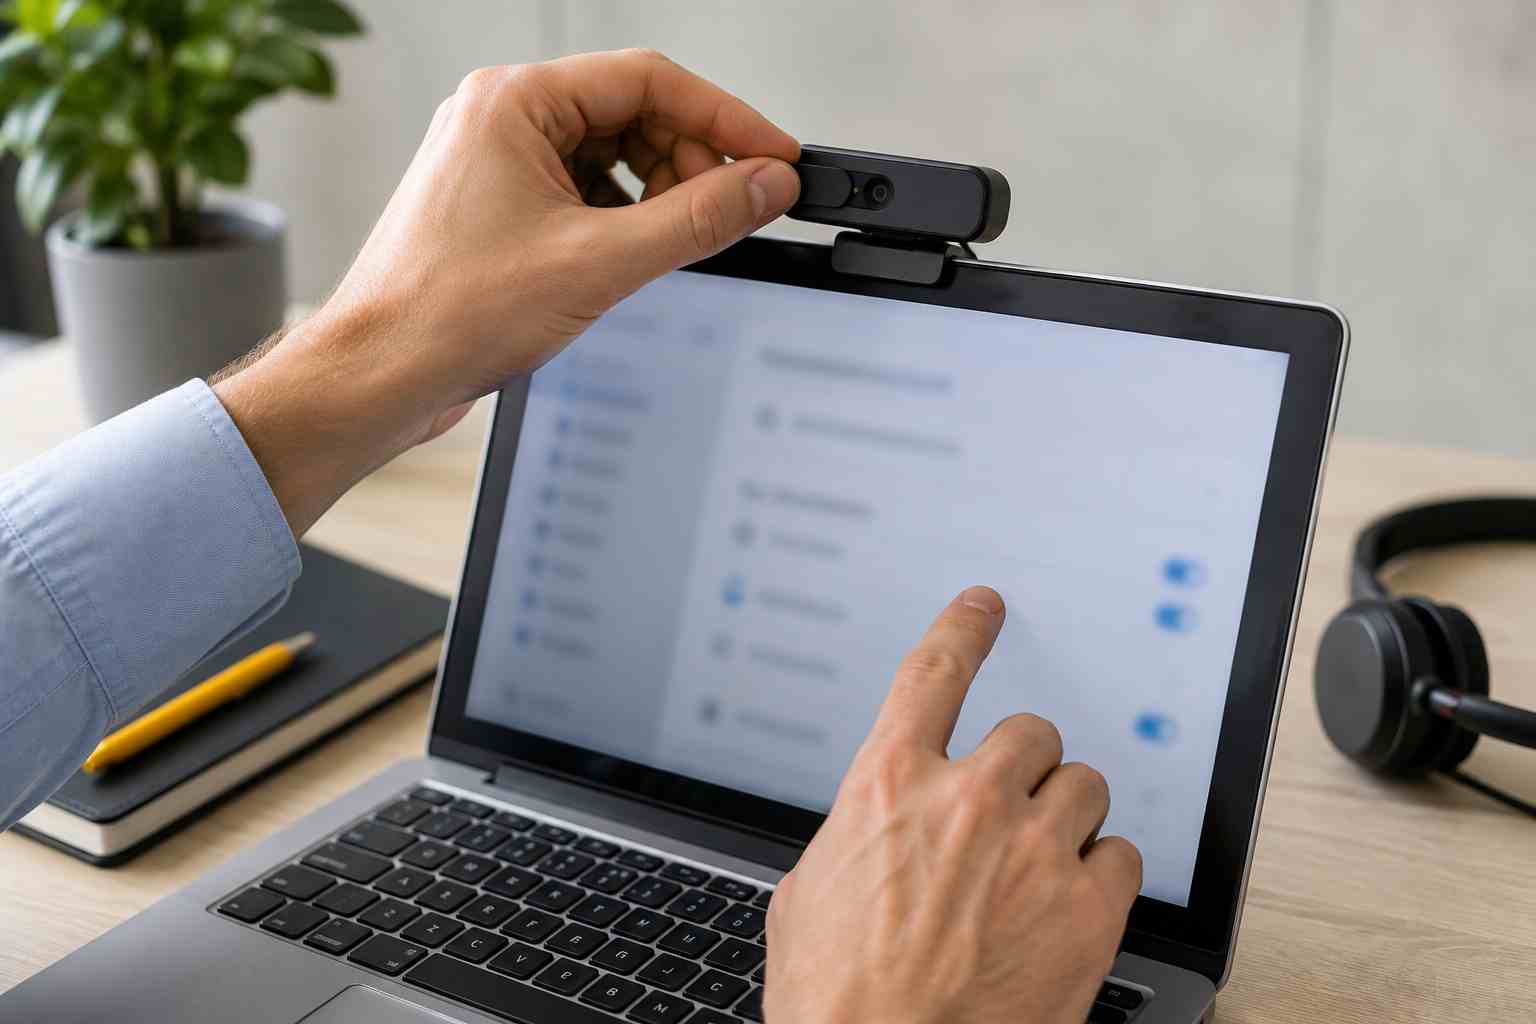
The meeting starts in two minutes. Teams can see the camera, but nobody can hear the microphone. Or the microphone works, but the camera shows a black screen.
These problems feel random when they happen. In most cases, however, the cause falls into one of four areas: the selected device, a privacy setting, another open application, or the connection carrying the call.
A short, consistent checklist can solve many problems before the meeting becomes a support emergency.
Before joining an important Teams meeting, check the preview screen.
Confirm that:
Laptops may have several audio devices available at once. Teams might select the laptop microphone even though the employee expects it to use a headset. A monitor, docking station, or conference-room speakerphone can add more choices.
Selecting the correct device often fixes the problem immediately.
Microsoft Teams includes a test-call feature for many work accounts. In Teams, open Settings, select Devices, and look for Make a test call.
The test records a short message and plays it back so the user can check the microphone, speaker, and camera before joining a real meeting.
If the test fails, note exactly what happened:
That description gives IT support a much better starting point than “Teams does not work.”
Windows can block camera or microphone access even when the hardware is working.
In Windows 11, open Settings, then go to Privacy & security. Review the Camera and Microphone sections.
Make sure access is enabled for apps and desktop applications. Teams and web browsers may depend on the desktop-app permission.
If the setting is unavailable or controlled by the organization, contact IT. Business security policies may intentionally restrict camera or microphone access, and employees should not attempt to bypass them.
Many laptops include a small shutter over the camera. Others use a keyboard key or manufacturer privacy setting to disable it.
A closed shutter can produce a black image even though Teams believes the camera is active.
Check:
Testing the camera in the Windows Camera app can also help. If it fails there too, the issue probably is not limited to Teams.
A browser tab, recording program, Zoom session, or another communications app may already be using the camera or microphone.
Close unused meeting and recording applications, then reopen Teams. If the problem continues, restart the computer rather than repeatedly disconnecting devices during the meeting.
Restarting clears temporary app conflicts and gives Windows another chance to detect connected equipment correctly.
A missing camera or silent microphone usually points to a device, permission, or application problem.
Freezing video, robotic audio, and frequent call drops are more likely to involve the network or internet connection.
Ask two quick questions:
One affected employee suggests a local device problem. Multiple affected employees may indicate overloaded Wi-Fi, internet trouble, or a broader Microsoft 365 service issue.
Employees should avoid downloading random driver-update utilities or “PC repair” tools before a meeting. These programs may introduce unwanted software or create additional problems.
Do not remove security software, change company policies, or install unfamiliar applications just to make a camera work. Use built-in Windows and Teams tools, then contact the support team if the issue continues.
Repeated meeting failures often point to inconsistent equipment or unmanaged settings.
Small businesses can reduce them by:
The goal is not merely to rescue one meeting. It is to stop the same interruption from happening every Monday morning.


Himala and his team at Cybernetic Networks have been amazing. We have been a customer of Cybernetic Networks for well over 14 years now, both personally and professionally. Himala and his team are professional, reachable and on the cutting edge of technology. We have enjoyed doing business with Cybernetic Networks for many years and still rely on their knowledge, skills and technology every day
Himala and his Cybernetic team have never let me down! For over 10 years now they have been fixing my technical issues, set up all my new networks and computers and have safeguarded me from any hackers or malware. You can trust this company to navigate you as your company grows and to keep you on track with the latest in security and safety
I am a solo practicing neurologist and have had all my IT needs covered through Cybernetic Networks since 2007. They are the best! All of their tech support staff is extremely knowledgeable and efficient. Just as importantly, they are quickly responsive whenever we need their assistance. I couldn’t be happier with their service and give them my highest recommendation!
I couldn't be happier with Cybernetics - they are experts, always respond quickly , and solves any issues I have.
Cybernetic Networks has been advising and supporting all our IT issues and purchases for the last 18 years. They are very responsive and extremely knowledgeable- always providing us with timely services.
It is not often you find small business companies that are not only rewarding to work with, but also have integrity, truth and skill. I have worked with this company for over 20 years, and the service is outstanding. I can easily recommend that if you need an IT company, this is the one to get. Full STOP! Look no further, you will be happy that you did. Sue Myhelic, Gulf Breeze Real Estate, Naples, Florida.
Himala and his team from Cybernetic Networks, Inc. has been an integral part of our successful retail business for the past 20 years. He is extraordinarily knowledgable and always available for our IT needs. Thanks to Himala and his team we are always up and running.